Digital art has opened up a world of creative possibilities for beginners and professionals alike. Whether you’re just starting out or looking to sharpen your skills, understanding core digital art techniques is key to becoming a confident artist. In this guide, we’ll walk you through essential skills, tools, and tips to improve your work—and show you exactly how to get better at digital art.
What Is Digital Art?
Digital art refers to any form of visual artwork created using digital technology. Instead of traditional mediums like paint and pencil, digital artists use tablets, software, and styluses to produce illustrations, paintings, comics, and more. From realistic portraits to animated GIFs, digital art spans a wide range of styles and forms.
Why Learn Digital Art Techniques?
Understanding proper digital art techniques can:
- Make your work look more polished and professional
- Save time by improving your workflow
- Help you express ideas more clearly
- Build a solid foundation for advanced projects like animation or graphic design
Even if you’re self-taught, the right techniques can make a huge difference in your growth.
Must-Know Digital Art Techniques for Beginners
1. Layering
What It Is: Layers let you draw different parts of your artwork on separate “sheets.” You can stack, rearrange, hide, or edit them individually without messing up the whole image.
Why It Matters:
- Keeps your work organized
- Makes it easy to fix mistakes
- Helps you experiment with colors and styles
Tip: Label your layers clearly (e.g., sketch, line art, color, shading) and use folders when possible.
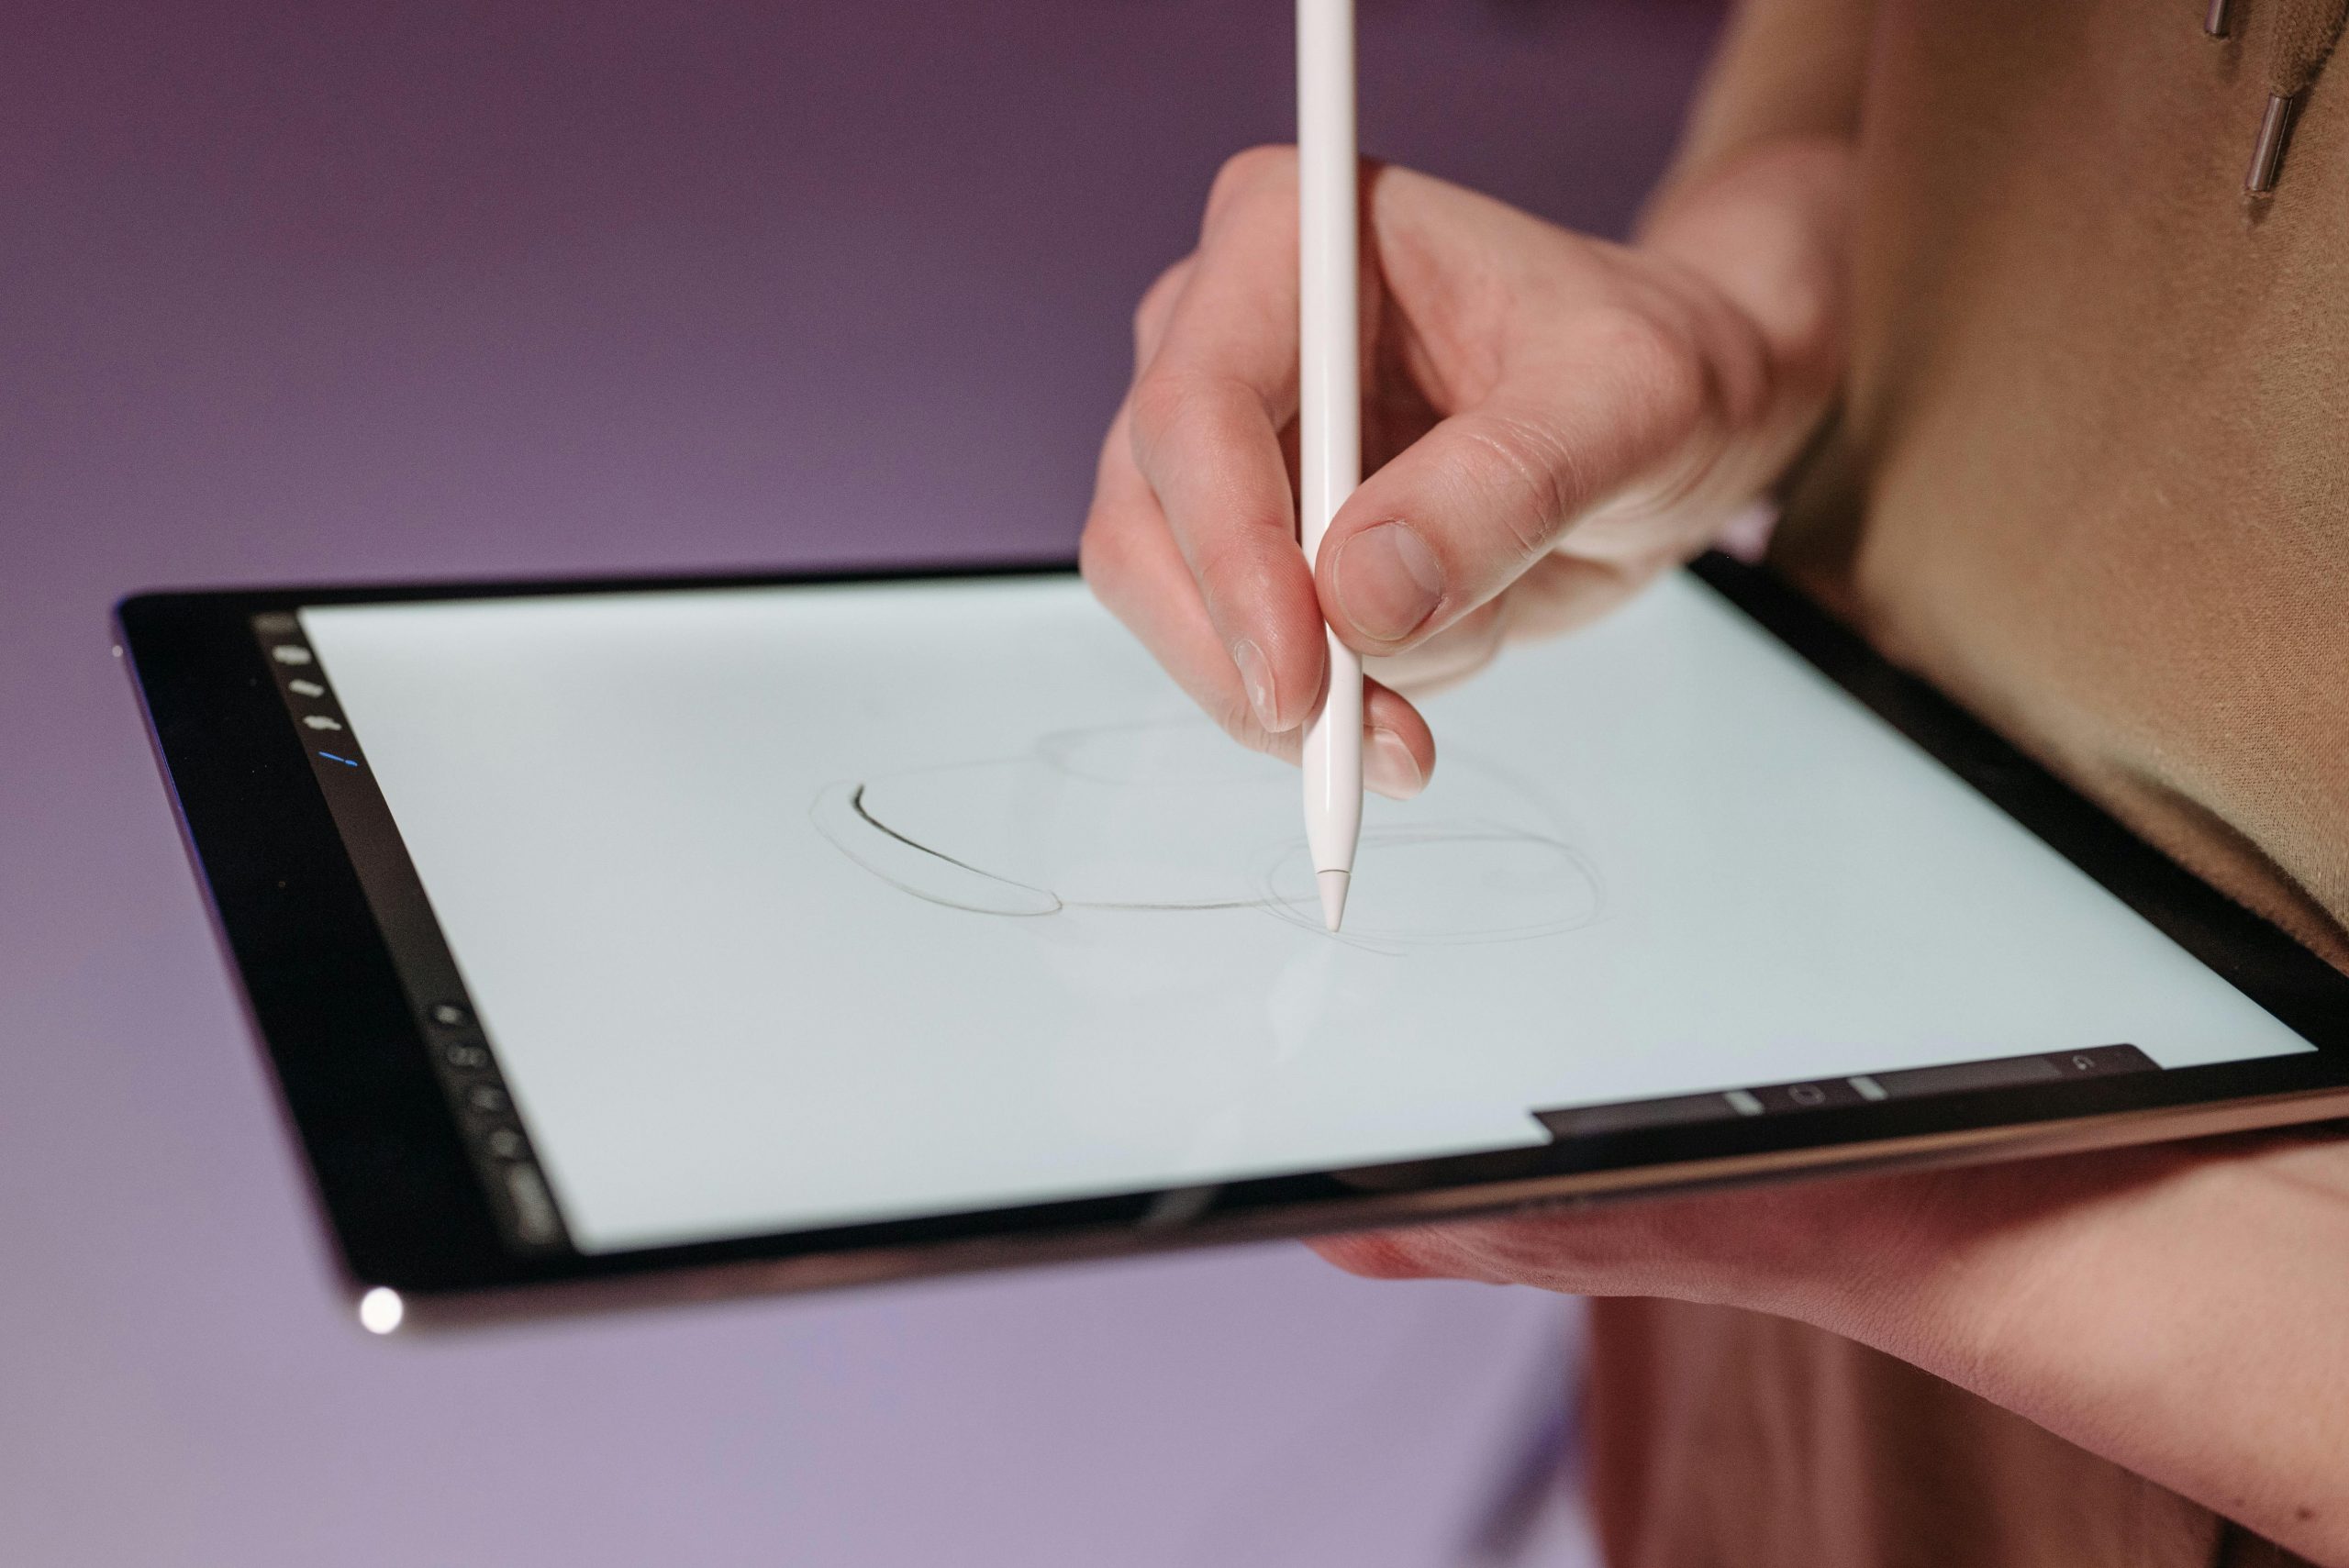
2. Sketching and Line Art
What It Is: Sketching is your rough draft, while line art is the clean, final version. Both are important for building structure and detail.
Technique Tips:
- Use a lower opacity brush for sketching
- Try stabilizers or smoothing tools for cleaner line art
- Zoom in for tricky details but zoom out often to check proportions
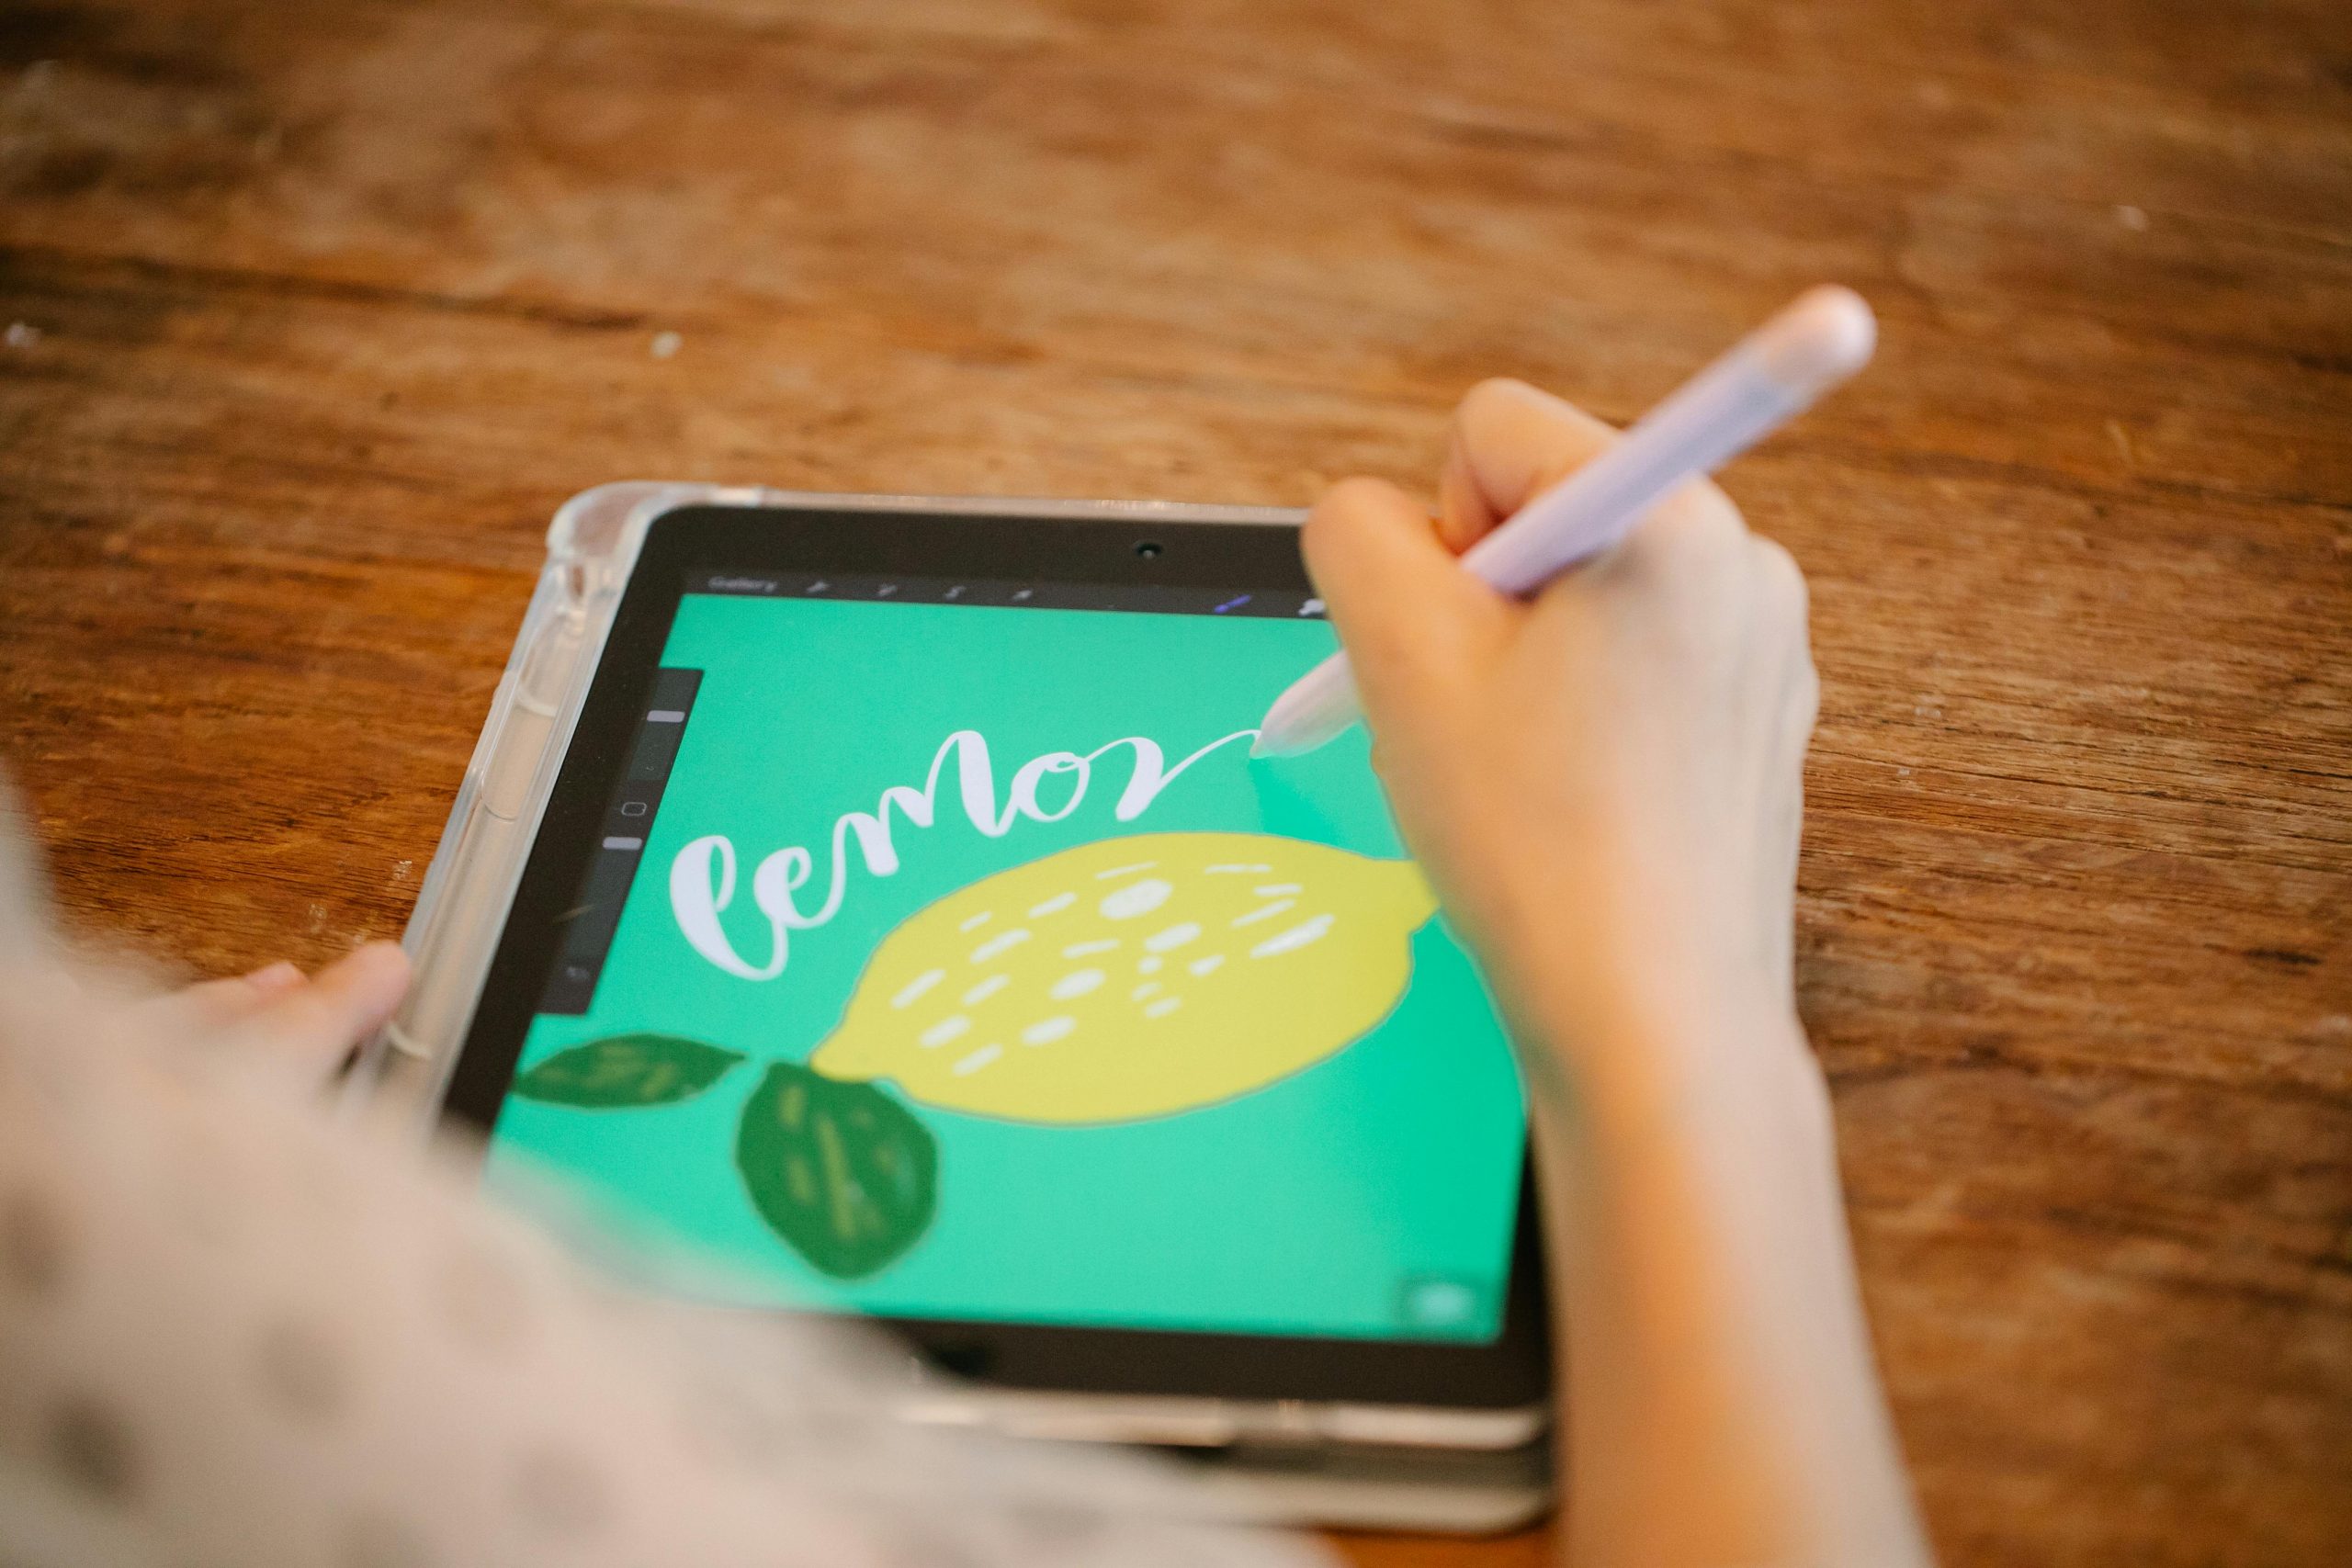
3. Coloring and Blending
What It Is: Adding color brings your piece to life. Blending helps you create smooth transitions between colors or shades.
Tools to Use:
- Hard round brush for solid coloring
- Soft round brush or smudge tool for blending
- Multiply layer mode for shadows
- Overlay or screen mode for highlights
Tip: Use a limited color palette to maintain harmony and prevent visual overload.
4. Shading and Lighting
Why It’s Important: Good lighting makes your art pop. It gives depth, realism, and mood.
Key Concepts:
- Identify your light source before shading
- Use multiple layers for shadows and highlights
- Don’t over-blend—some texture adds interest
Common Techniques:
- Cell shading (sharp shadows for a stylized look)
- Gradient shading (smooth, realistic lighting)
5. Texturing and Brushes
What It Is: Textures and custom brushes add surface detail like fur, fabric, metal, or skin pores.
How to Use Them:
- Download free or paid brushes for your software
- Apply with low opacity for a subtle effect
- Layer textures over your work using blending modes
Pro Tip: Experiment with scatter and jitter settings in your brush menu to create random effects like grass or freckles.
6. Color Theory Basics
Why It Matters: Understanding how colors work together helps you set the mood and guide the viewer’s eye.
Quick Tips:
- Complementary colors (like blue & orange) add contrast
- Analogous colors (like red, orange, yellow) are harmonious
- Warm colors evoke energy; cool colors feel calm
Tool Suggestion: Use a color wheel or generator like Adobe Color to plan your palette.
7. Perspective and Proportions
What It Is: Perspective helps create depth. Proportions ensure everything looks balanced and believable.
Start Simple:
- Use 1-point or 2-point perspective grids
- Sketch stick figures or shapes to plan body parts
- Practice using reference images or mannequins
Reminder: Getting better at anatomy and perspective takes time. Keep practicing and use guidelines!
Best Software for Practicing Digital Art Techniques
You don’t need expensive software to get started. Here are a few great options:
- Procreate (iPad): Intuitive and powerful for all skill levels
- Clip Studio Paint: Popular with comic and manga artists
- Adobe Photoshop: Industry standard for professional work
- Krita (Free): Great for beginners and budget-friendly
- MediBang Paint: Lightweight, with cloud-saving options
Choose the one that fits your device, budget, and style.
Devices and Tools to Help You Learn Faster
Drawing Tablet: Using a tablet with a stylus makes a huge difference in control and comfort. Beginners can try budget models from Huion or XP-Pen. Wacom offers high-end options.
Stylus Features to Look For:
- Pressure sensitivity
- Tilt recognition
- Comfortable grip
Monitor Calibration: Make sure your screen shows colors accurately. This matters when shading or preparing prints.
Building Confidence Through Creative Challenges
If you’re wondering how to get better at digital art, one great way is by pushing your boundaries with structured challenges. These aren’t just for fun—they help you practice consistently, build new skills, and discover your artistic voice.
Try Art Prompts or Challenges
Joining art challenges like Inktober, Draw This In Your Style (DTIYS), or 30-Day Drawing Challenges can give you the motivation to create something daily. Prompts spark ideas when you’re stuck and help you develop speed and confidence.
Recreate Old Art
Pick a piece you made 6 months or a year ago, and redo it with your current skills. Comparing the two versions is a powerful reminder of your progress.
Focus on One Skill at a Time
If you’re struggling with anatomy, spend a week drawing only hands or faces. If lighting feels tricky, practice rendering the same object under different lighting conditions. Isolating skills helps you improve faster.
Keep a Sketchbook (Digital or Physical)
A sketchbook isn’t just for polished work—it’s your space to explore, fail, and grow. Use it daily to capture ideas, study from references, or experiment with brush settings.
With consistent creative practice and a willingness to step out of your comfort zone, you’ll quickly learn how to get better at digital art—and enjoy the process along the way.
Common Mistakes to Avoid
Even advanced artists make mistakes—but beginners should be especially mindful of:
- Overusing filters or effects (can look unnatural)
- Ignoring anatomy or perspective (study the basics)
- Giving up too early (your first 100 drawings might look rough—and that’s okay!)
- Comparing your work constantly (growth takes time)
Final Thoughts
Mastering digital art techniques takes time, but every piece you create is a step forward. Focus on building core skills like sketching, layering, shading, and coloring. Use the right tools, explore different styles, and practice regularly. The more you experiment, the more confident you’ll become.
Whether you’re dreaming of a career in animation, comics, or illustration—or just drawing for fun—digital art gives you endless creative freedom. And if you’ve been wondering how to get better at digital art, now you know: keep showing up, keep learning, and keep creating.
There’s no perfect brush or style. Just progress—one stroke at a time.